Pages

Friday, October 25, 2013

Papertrey Ink Blog Hop - Tags


I made these Christmas tags for the Papertrey Ink Blog Hop  which calls for making at least 5 tags.  I used some very nontraditional colors - dark gray, black and pearly white.  To make my tags, I used Smokey Shadow cardstock and my new favorite stamp set, Meadow Greens. I think it is very versatile - not just for spring.  "Peace" and the leaf are both from that set.  I cut out the tags using the biggest die from the Angled Labels Die Collection.

I embossed the leaf with a glittery embossing powder called Starry Night.  It was so glittery, the darn thing was hard to photograph.  I must have taken 20 pics before I got something that wasn't a blob of sparkle. Lol.

I used Perfect Pearls for the sentiment.  I think that made it pop out despite the sparkle on the leaf.  The ribbon is from American Crafts.

Thank you for looking!


Look at the glitter!

Sunday, October 20, 2013

Thanksgiving Tag


I did this tag for a Prima Doll Thanksgiving Tag swap.  I love Thanksgiving because of the fall colors.  Mostly, I love it it because it is a reminder of how blessed I am.

I only have 3 of the Prima Dolls by Julie Nutting but I chose the one with the peasant dress because I thought the colors would go well with dress.  I don't know why.

I colored her using distress markers and copics.  I did the skin with the Copics and the rest with Distress Markers.  I wanted to use the Distress Markers for all of it because I do like that watercolor look. But skin using Distress Markers come out looking washed out so I am still experimenting with them. I have to find the right color combo for skin.

I fussy cut the dress from pattern paper by My Mind's Eye and then added shadows with the markers.  I also added some Victorian Velvet Distress Glitter which a nice vintage look. I added Glossy Accents to the Headband and the shoes.


The background paper is from Prima Sunrise, Sunset line.  I spritzed a little Tattered Angels Mist and then added some leaves and a sentiment: Give thanks and in all things be grateful.  The leaves and the sentiment are from Stampin' Up.  The green ribbon is from Making Memories.  The twine and ribbon are from my stash.  The ribbon was a bright yellow color but it just did not go with the muted tones in the tag so I dyed it with Mustard Seed Distress Marker.  That toned down the ribbon and it goes much better now :)


I decided to enter my tag in:


Friday, October 11, 2013

Creative Chemistry 102, Day 5


Last day! Day 5!  Today's focus was on embossing powder.  I tried the Shabby Chic technique ... that was a f.a.i.l.  But I kept on trucking and tried out sticky embosing powder.  You know what's funny? I had a jar of this for YEARS and never used it.  So it felt good to finally use it and I think came out well :)
I used the Baroque die again - I think it is so elegant.  I smushed on some Scattered Straw and Distress Stains and water.  The background came out so soft.  I used Tea Dyed around the edges.   I might try those colors again.  I stamped the background using a stamp from Stampers Anonymous Classics #9 with Antique Linen.

I used the sticky embossing powder and used some copper foil paper I had and burnished it on the embossed area.  I peeled it off and Voila!  Instant shine.  I stamped a sentiment from Unity.  I love this quote because I can get so bogged on something I don't see how wonderful everything else is.  I used a piece of butterfly tissue tape from Idea-ology along the bottom.  I added raffia and a metal tag that had some Antique Linen Distress rubbed on it.

I finished it off with some burlap and a metal hinge pained with Antique Bronze Distress Paint.

With flash so you can the shine :)

Creative Chemistry 102, Day 4

Day 4 was yesterday but better late than never :)

Yesterday's focus was alcohol inks and my hands are a mess but it was fun!  I made a Christmas ATC using the ATC die from Tim Holtz.  I tried out the Monoprint technique and used Stream, Stonewashed and Cool Perl alcohol inks with a splash of Alcohol Blender.  I let that dry which did not take long at all and stamped it with a mini snowflake.

Then I tried out the tinted Tinsel technique.  I tinted the one piece of tinsel in Oregano Alchol Ink from Adirondack and left another piece untinted.  I twisted them together and them stapled it with my Tiny Attacher.

I punched some small circles with my hole puncher and they became little berries.  Lastly,  I added a word band from Idea-ology.

Wednesday, October 9, 2013

Creative Chemistry 102, Day 3

Today I tried out three techniques.

In this first one, I tried out using a brayer with Distress Stains.  I used Chipped Sapphire and Tumbled Glass.  I thought it made a nice background for a night sky and turned it into a birthday card.  I added some star die cuts from Papertrey Ink and ticket from the Mini Filmstrip and Mini Ticket die.


In the next one, I tried out photo tinting with Distress Markers - Chipped Sapphire, Broken China, and Worn Lipstick.  I tried out really soft color like Milled Lavender and Weathered Wood but colors like that blended into the photograph.  I tried out stronger colors and the colors pop some more with being too out of place on a wedding photo.

I also tried out Cracked Glass by applying Distress Crackle on clear plastic cut with the Baroque die. It took soooooo long to dry but I think the effect is well worth the wait!  I blended in some Adirondack Ink Metallic Mixatives in Gold.  The swirl is from the Elegant Flourishes die.The seam binding is dyed with Vintage Photo and Walnut Stain.  I am very happy with how it turned out.


I thought I might put it on a card but I think I will just hang it :)


Tuesday, October 8, 2013

Creative Chemistry 102, Day 2


Today's lesson was different ways of using stencils.  I didn't think the stencil thing was that exciting - but, then... I saw the videos... and now... I want a bunch of stencils! lol

This tag has a birthday theme.  I had to make a stencil because I really only have one - the burlap one.  I used that one for the background using the Vintage Photo Distress Pad.

I cut out a die cut using the Mini Cabinet die.  I sanded the paper and inked the edges with Vintage Photo.  I made stencil of the letter "M" (my younger son's initial - birthday coming up!) with my Cricut using the Total Sports cartridge because it has a "fat" letters that would make it easy to stamp within the stencil area.

This is my poor stencil.  It took quite a beating
when I ran it through my Cuttlebug get a banner
die cut.  Waste not, want not!

I centered the "M" (which is hard with opaque paper!) and blended in Festive Berries. Then I stamped "just for you" inside the "M" with black Archival Ink.  I traced the "M" with Barn Door to give it a more define look.


I used a strip from the Tattered Banners die and stamped happy birthday on it.  I inked the banner with Vintage Photo and Festive Berries.

Last I took a couple of strips of seam binding and dyed one with Broken China and another with Festive Berries.


I liked working with stencils a lot.  Stamping inside them, I think, was my favorite technique :)


Monday, October 7, 2013

Creative Chemistry 102, Day 1

I am taking the Creative Chemistry 102 class and wow!  Just the first day is jammed pack with information.   Today I tried out two techniques with distress paints: marbling effect and patina.  This is my tag.  I kept it simple so I could remember what the marbling effect looks like.  I used  Antique Linen, Broken China, and Antiqued Bronze Distress Paints.  On the edges I used Tumbled Glass and Antique Linen Distress Pads. The lock is from Hardware Findings die cut and the woman is the ballerina from the Tiny Things stamp set.  I fell in love with the patina look but I think I would have been more successful if I had chosen smoother paper so it could look more metallic. But it was fun and I can't wait to learn more :)

Saturday, October 5, 2013

12 Tags of 2013 - Ghostly Galleon

Wow, it's been a long time since I have posted anything.  Work has been busier than ever - that puts a big dent on crafting!  But I had some time in the morning to create a tag for Tim Holtz's 12 Tags of 2013.  The theme is Halloween and I couldn't wait to start because I had an idea in my mind.  Here it is:


I recently did an ATC in black and white and I wanted to work in black and white again.  Perfect for something Haloweeny!

I added an Idea-ology hole reinforcer with vintage people on the top of my tag to go with my "ghostly" theme.


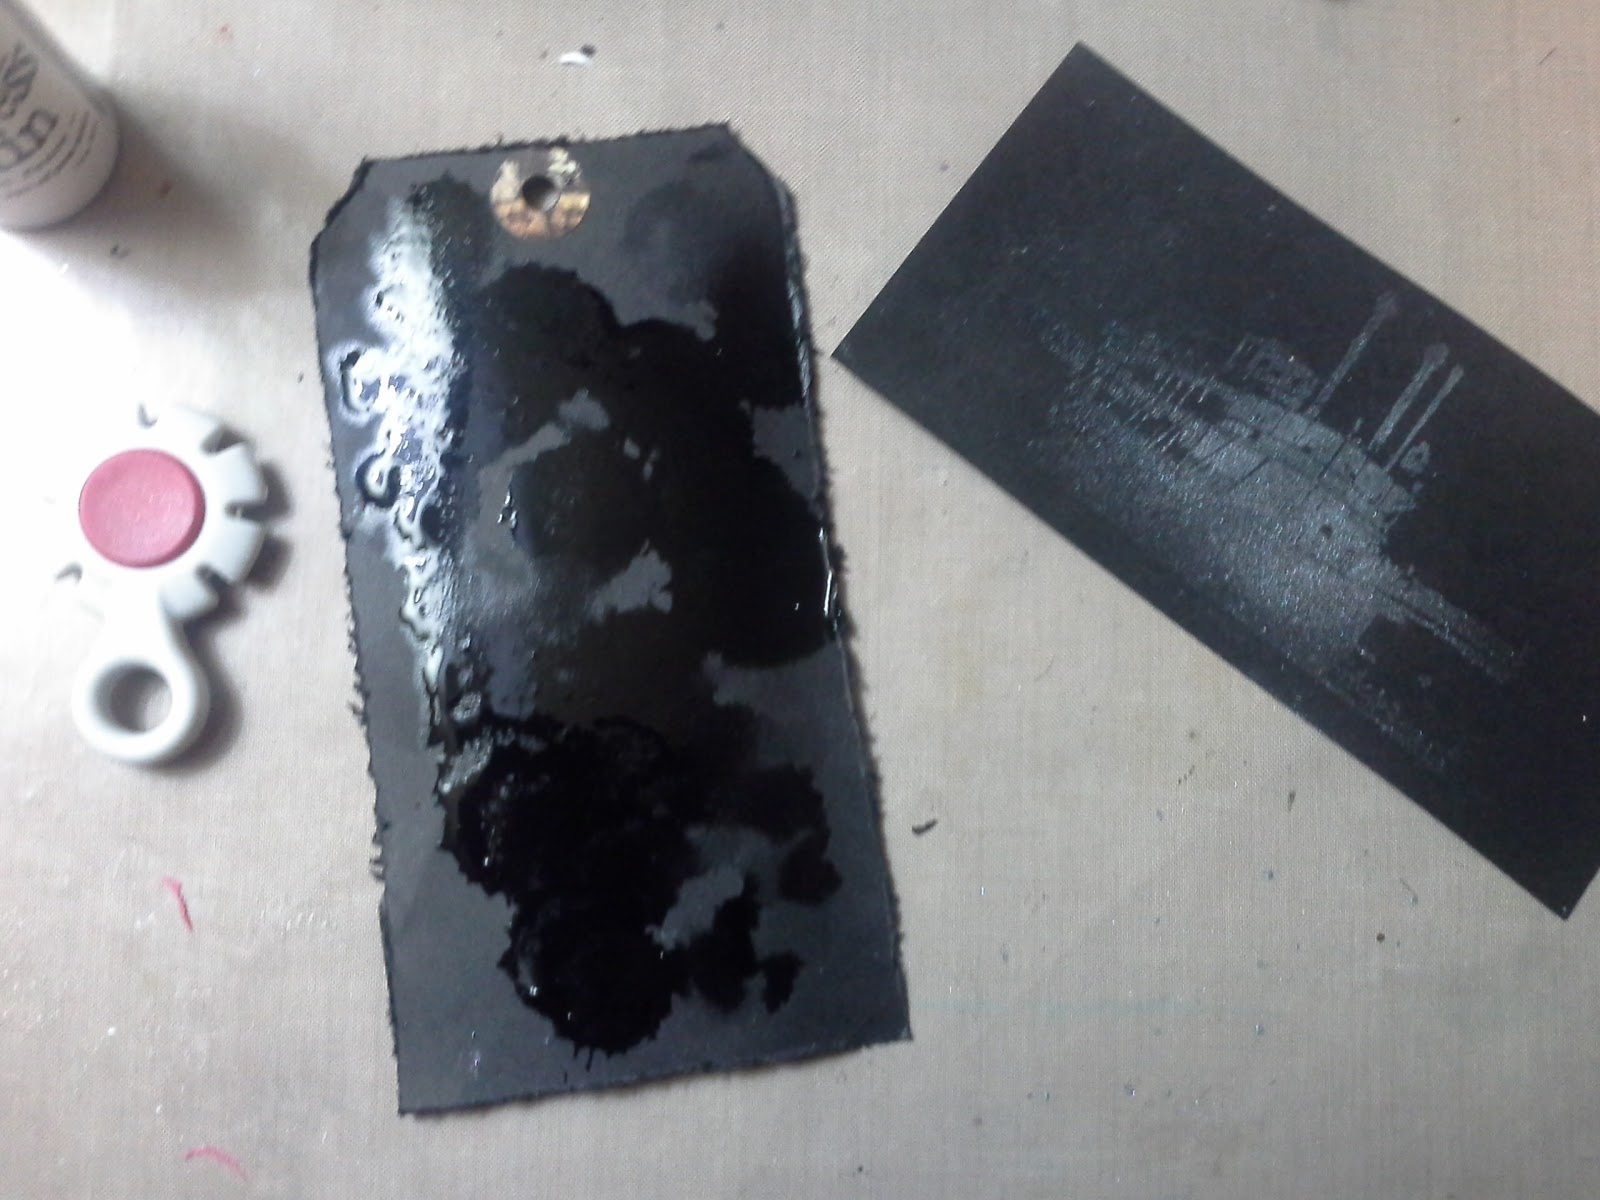
I stamped my image from Artistic Outpost's Huck Finn set onto to black cardstock with Versamark and embossed it with Frosted Crystals - this stuff is cool!  I dabbed some Perfect Pearls in Pewter onto the embossed image and it "stuck". I  distressed the sides and added some Distress Stain in Weathered Wood on my tag.


I added Distress Stain in White Picket Fence onto the tag and just swished it with my finger (super techie, huh?) to try to make them look like clouds.  I stamped the weathered clock from the Life's Possibilities stamp set using Distress Satin in White Picket Pence, too.


I tried to make waves using my White Picket Fence Distress Marker but that wasn't going so well...

 I threw caution into the wind and the Burlap Stencil on my tag and stomped (instead of gently dabbing) on the the Distress Stain in White Picket Fence.  I spritzed it with water to soften the look. Then I placed my stamped image on top which I had fussy cut and trimmed the sides.


Next, I took my Distress Stickles Dry Glitter in Clear Rock Candy and dyed it with Black Soot Alcohol Ink. It took only like 4 drops and it was a whole lot easier than I thought it would be. I spread it over the bottom of the boat and on sections of the ribbon.  The ribbon was dyed with White Picker Fence and Black Soot Distress Markers.  And that's it!  That's all she wrote...