Pages

Showing posts with label Tim Holtz. Show all posts

Friday, October 11, 2013

Creative Chemistry 102, Day 5


Last day! Day 5!  Today's focus was on embossing powder.  I tried the Shabby Chic technique ... that was a f.a.i.l.  But I kept on trucking and tried out sticky embosing powder.  You know what's funny? I had a jar of this for YEARS and never used it.  So it felt good to finally use it and I think came out well :)
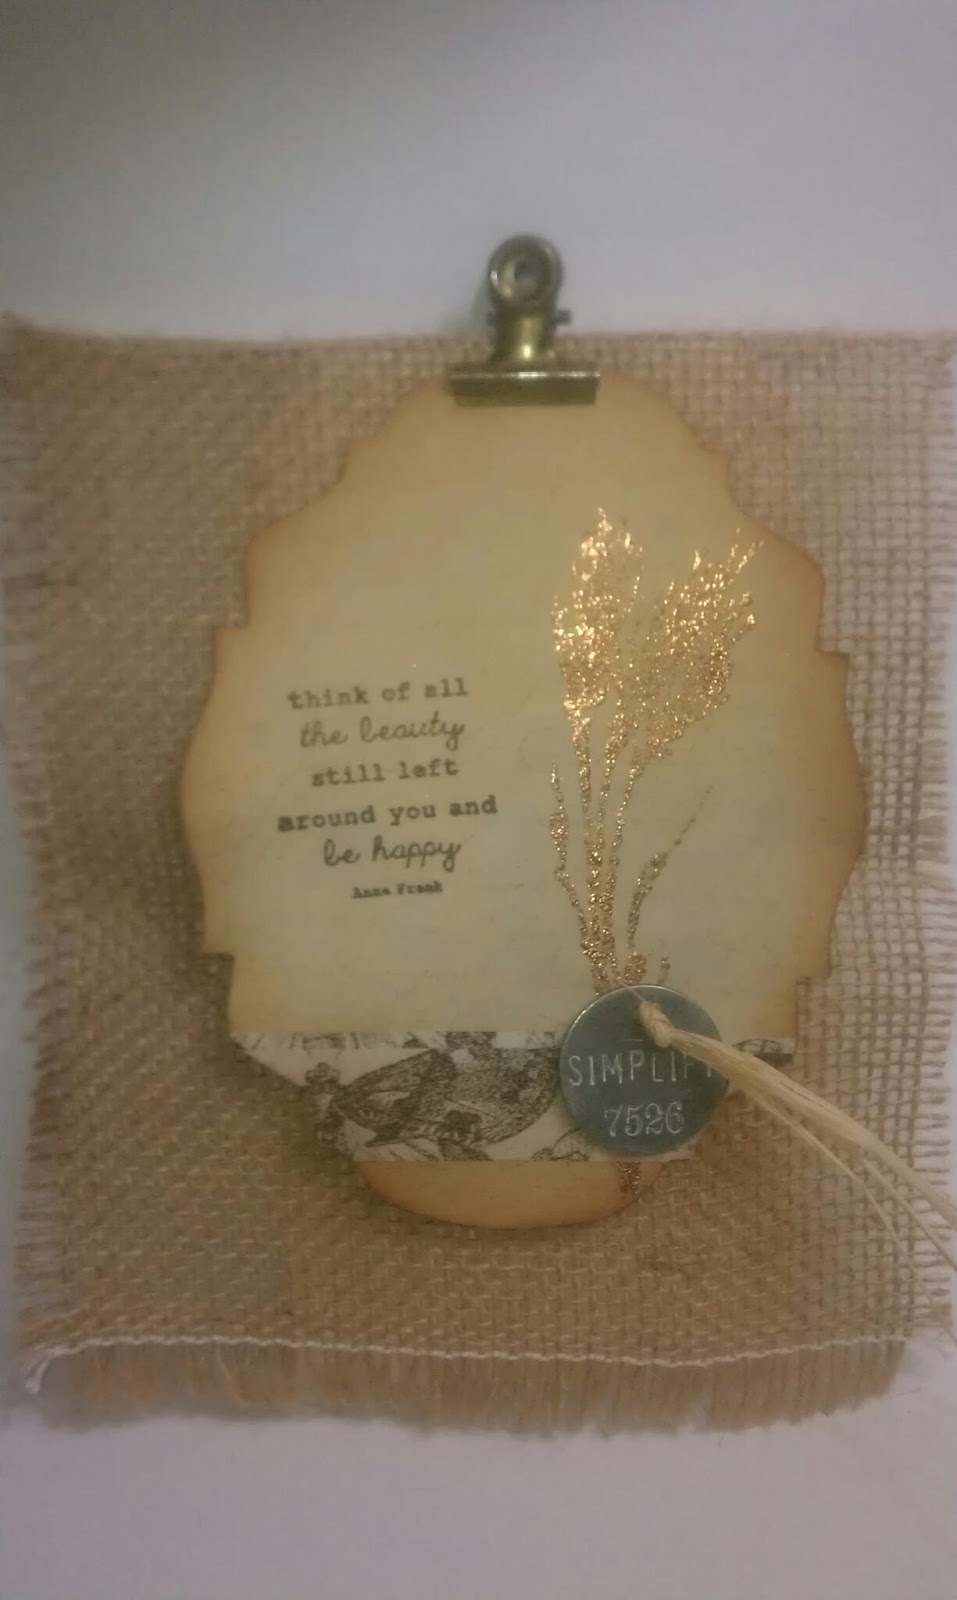
I used the Baroque die again - I think it is so elegant.  I smushed on some Scattered Straw and Distress Stains and water.  The background came out so soft.  I used Tea Dyed around the edges.   I might try those colors again.  I stamped the background using a stamp from Stampers Anonymous Classics #9 with Antique Linen.

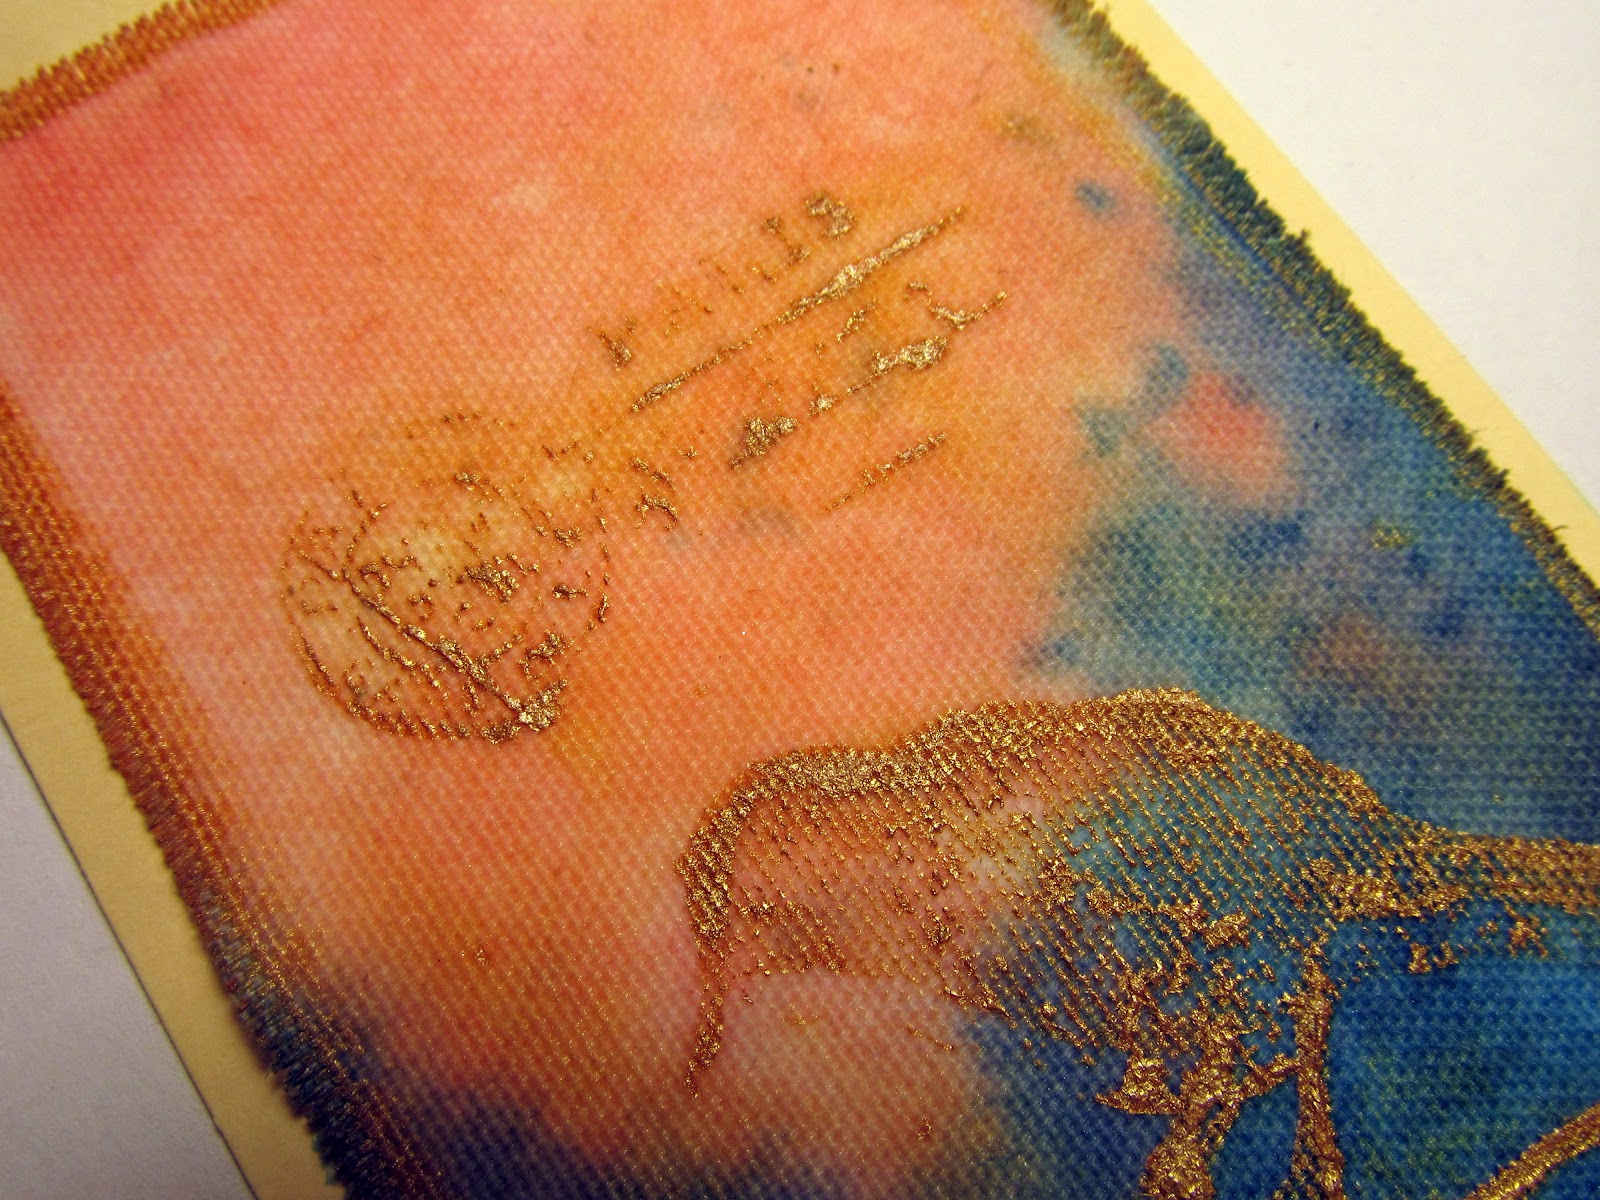
I used the sticky embossing powder and used some copper foil paper I had and burnished it on the embossed area.  I peeled it off and Voila!  Instant shine.  I stamped a sentiment from Unity.  I love this quote because I can get so bogged on something I don't see how wonderful everything else is.  I used a piece of butterfly tissue tape from Idea-ology along the bottom.  I added raffia and a metal tag that had some Antique Linen Distress rubbed on it.

I finished it off with some burlap and a metal hinge pained with Antique Bronze Distress Paint.

With flash so you can the shine :)

Creative Chemistry 102, Day 4

Day 4 was yesterday but better late than never :)

Yesterday's focus was alcohol inks and my hands are a mess but it was fun!  I made a Christmas ATC using the ATC die from Tim Holtz.  I tried out the Monoprint technique and used Stream, Stonewashed and Cool Perl alcohol inks with a splash of Alcohol Blender.  I let that dry which did not take long at all and stamped it with a mini snowflake.

Then I tried out the tinted Tinsel technique.  I tinted the one piece of tinsel in Oregano Alchol Ink from Adirondack and left another piece untinted.  I twisted them together and them stapled it with my Tiny Attacher.

I punched some small circles with my hole puncher and they became little berries.  Lastly,  I added a word band from Idea-ology.

Wednesday, October 9, 2013

Creative Chemistry 102, Day 3

Today I tried out three techniques.

In this first one, I tried out using a brayer with Distress Stains.  I used Chipped Sapphire and Tumbled Glass.  I thought it made a nice background for a night sky and turned it into a birthday card.  I added some star die cuts from Papertrey Ink and ticket from the Mini Filmstrip and Mini Ticket die.


In the next one, I tried out photo tinting with Distress Markers - Chipped Sapphire, Broken China, and Worn Lipstick.  I tried out really soft color like Milled Lavender and Weathered Wood but colors like that blended into the photograph.  I tried out stronger colors and the colors pop some more with being too out of place on a wedding photo.

I also tried out Cracked Glass by applying Distress Crackle on clear plastic cut with the Baroque die. It took soooooo long to dry but I think the effect is well worth the wait!  I blended in some Adirondack Ink Metallic Mixatives in Gold.  The swirl is from the Elegant Flourishes die.The seam binding is dyed with Vintage Photo and Walnut Stain.  I am very happy with how it turned out.


I thought I might put it on a card but I think I will just hang it :)


Tuesday, October 8, 2013

Creative Chemistry 102, Day 2


Today's lesson was different ways of using stencils.  I didn't think the stencil thing was that exciting - but, then... I saw the videos... and now... I want a bunch of stencils! lol

This tag has a birthday theme.  I had to make a stencil because I really only have one - the burlap one.  I used that one for the background using the Vintage Photo Distress Pad.

I cut out a die cut using the Mini Cabinet die.  I sanded the paper and inked the edges with Vintage Photo.  I made stencil of the letter "M" (my younger son's initial - birthday coming up!) with my Cricut using the Total Sports cartridge because it has a "fat" letters that would make it easy to stamp within the stencil area.

This is my poor stencil.  It took quite a beating
when I ran it through my Cuttlebug get a banner
die cut.  Waste not, want not!

I centered the "M" (which is hard with opaque paper!) and blended in Festive Berries. Then I stamped "just for you" inside the "M" with black Archival Ink.  I traced the "M" with Barn Door to give it a more define look.


I used a strip from the Tattered Banners die and stamped happy birthday on it.  I inked the banner with Vintage Photo and Festive Berries.

Last I took a couple of strips of seam binding and dyed one with Broken China and another with Festive Berries.


I liked working with stencils a lot.  Stamping inside them, I think, was my favorite technique :)


Monday, October 7, 2013

Creative Chemistry 102, Day 1

I am taking the Creative Chemistry 102 class and wow!  Just the first day is jammed pack with information.   Today I tried out two techniques with distress paints: marbling effect and patina.  This is my tag.  I kept it simple so I could remember what the marbling effect looks like.  I used  Antique Linen, Broken China, and Antiqued Bronze Distress Paints.  On the edges I used Tumbled Glass and Antique Linen Distress Pads. The lock is from Hardware Findings die cut and the woman is the ballerina from the Tiny Things stamp set.  I fell in love with the patina look but I think I would have been more successful if I had chosen smoother paper so it could look more metallic. But it was fun and I can't wait to learn more :)

Saturday, October 5, 2013

12 Tags of 2013 - Ghostly Galleon

Wow, it's been a long time since I have posted anything.  Work has been busier than ever - that puts a big dent on crafting!  But I had some time in the morning to create a tag for Tim Holtz's 12 Tags of 2013.  The theme is Halloween and I couldn't wait to start because I had an idea in my mind.  Here it is:


I recently did an ATC in black and white and I wanted to work in black and white again.  Perfect for something Haloweeny!

I added an Idea-ology hole reinforcer with vintage people on the top of my tag to go with my "ghostly" theme.


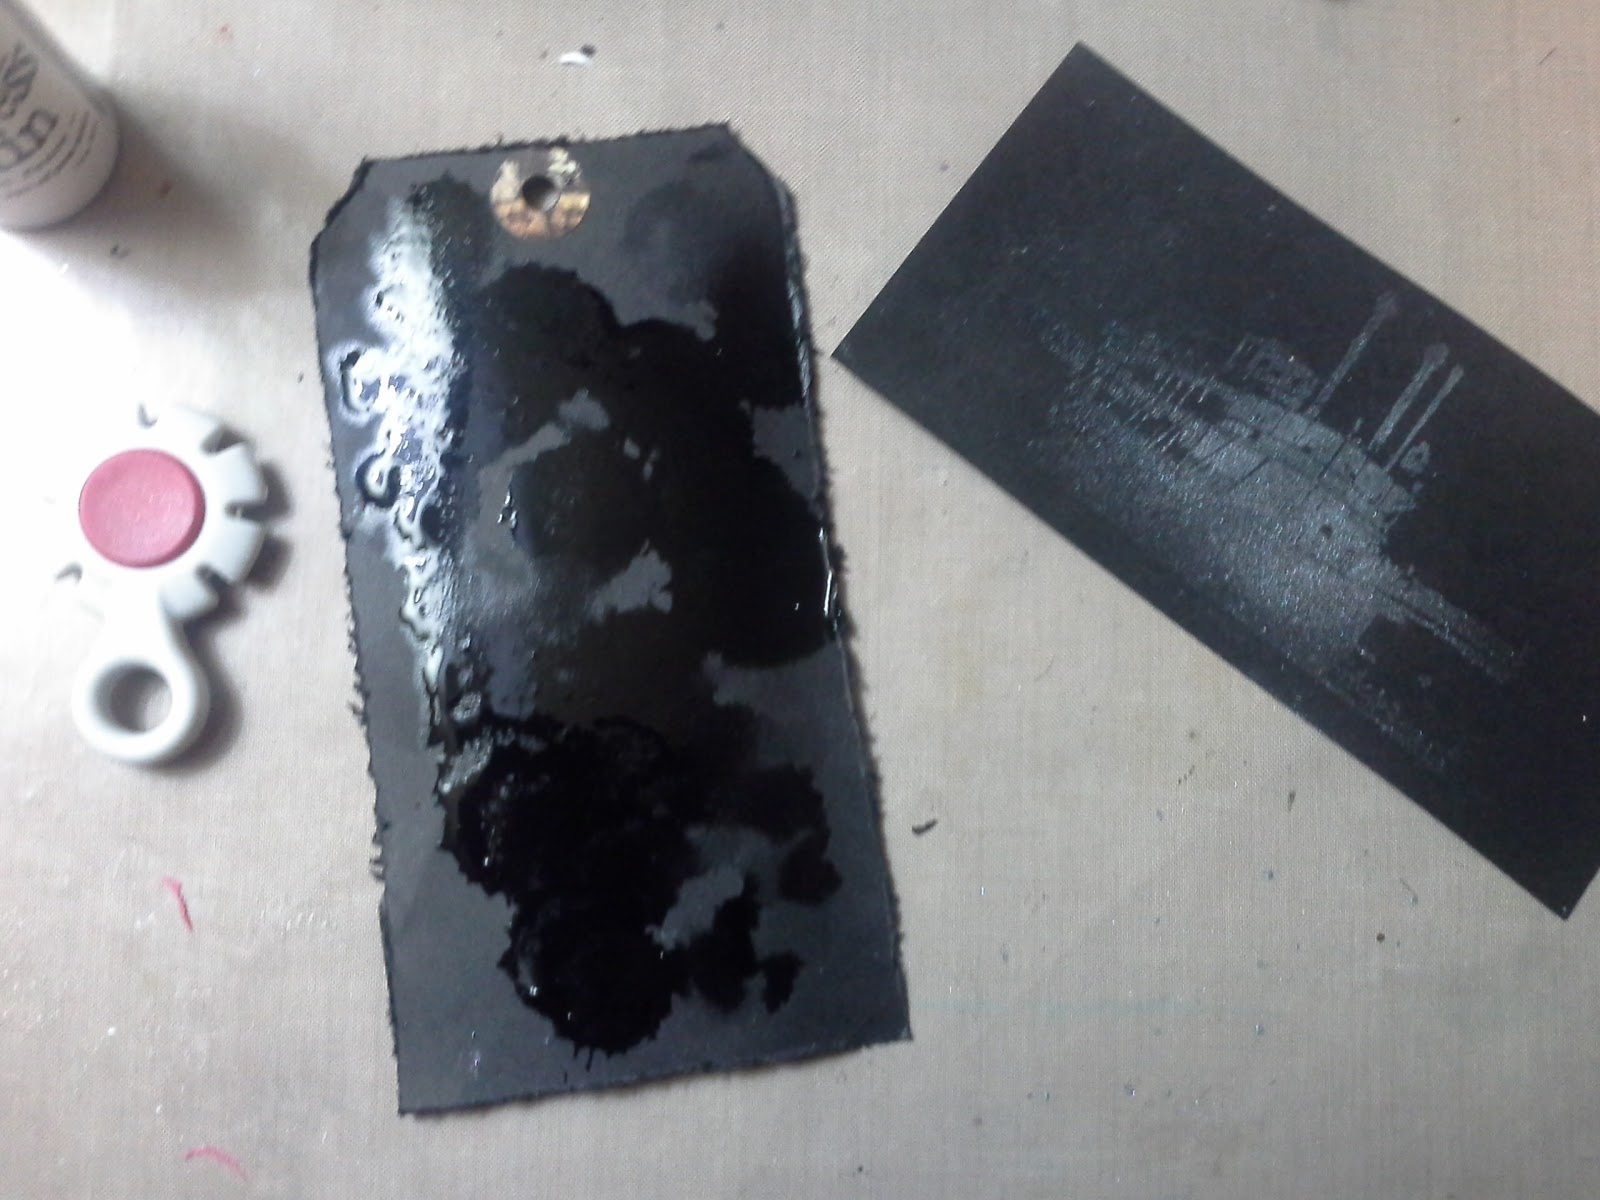
I stamped my image from Artistic Outpost's Huck Finn set onto to black cardstock with Versamark and embossed it with Frosted Crystals - this stuff is cool!  I dabbed some Perfect Pearls in Pewter onto the embossed image and it "stuck". I  distressed the sides and added some Distress Stain in Weathered Wood on my tag.


I added Distress Stain in White Picket Fence onto the tag and just swished it with my finger (super techie, huh?) to try to make them look like clouds.  I stamped the weathered clock from the Life's Possibilities stamp set using Distress Satin in White Picket Pence, too.


I tried to make waves using my White Picket Fence Distress Marker but that wasn't going so well...

 I threw caution into the wind and the Burlap Stencil on my tag and stomped (instead of gently dabbing) on the the Distress Stain in White Picket Fence.  I spritzed it with water to soften the look. Then I placed my stamped image on top which I had fussy cut and trimmed the sides.


Next, I took my Distress Stickles Dry Glitter in Clear Rock Candy and dyed it with Black Soot Alcohol Ink. It took only like 4 drops and it was a whole lot easier than I thought it would be. I spread it over the bottom of the boat and on sections of the ribbon.  The ribbon was dyed with White Picker Fence and Black Soot Distress Markers.  And that's it!  That's all she wrote...


Thursday, June 13, 2013

Anniversary Clock


I made a pocket watch anniversary card for my husband using a quote from I Corinthians that we used in our wedding ceremony program.

To make the clock, I used the pocket watch die from Tim Holtz using paper from Melissa Frances.  I cut out an extra die and cut off the top - the part that would be attached to the fastener.  I painted it in Antiqued Bronze Distress Paint and then I added just a tiny bit of Ranger Alcohol Ink in Latte.  Adding the alcohol ink made the piece less shiny and more antique looking with the two tones.  I attached the Idea-ology Swivel Clasp Fastener which I also dabbed with Antiqued Bronze Distress Paint.

I love butterflies so I added one using a stamp from Cavallini & Co.and dusted on some Perfect Pearls to give it that subtle sparkle.  Blue Raspberry Perfect Pearls - kind of loses the romance of the whole piece :)  I used the Frayed Burlap and Antique Linen Distress Ink Pad to antique the edges.  The seam binding is painted with Weathered Wood Distress Ink Reinker - my new favorite color.  Love the blue, gray hues.  Lastly, I added a pin from a swap I was in and small key from Recollections.

I am entering the clock card in:
Crafts & Me Challenge Blog -  Challenge #137 Vintage

Our Creative Corner - Recipe - From List A, I have a ribbon (seam binding).  From List B, I have metal (swivel clasp fastener and key).  From List C, I have paints (Distress Paint in Antiqued Bronze) and inks (Ranger Alcohol Ink in Latte, Weathered Wood Distress Ink Reinker)

Crafty Sentiments Designs - Card Project for a Male

Paper Playtime  - Ch #12 Anything Goes

Love to Create Challenge Blog - #69 Shabby or Vintage

Thank you for visiting! :)
 
 
Little drops of water, little grains of sand,
Make the mighty ocean, and the pleasant land.
So the little minutes, humble though they be,
Make the mighty ages of eternity.
 
~ JULIA CARNEY, Little Things 
  

Monday, May 20, 2013

Steampunk Inspired World of Oz

I participated in a tag swap on the Cricut message board.  My partner is into steampunk and grunge styles which I thought I could have a lot of fun with.  She didn't name a theme, though, so I racked my brain for a starting off point.  But I couldn't think of anything until... I read a review about a book named Cinder.  Cinder is a twist on the fairytale Cinderella.  Cinderella, in this case, was a cyborg - half machine, half human.  I thought - Cool!

Well, I don't know how it became Oz inspired but it did and I tried to make some of the tags have movement of some sort.  Here they are:

Supplies: Graphic 45 Paper (Magic of Oz), Tim Holtz Textured Faded Bricked, Ranger Perfect Pearls, Cricut Cartridge pop-Up Neighborhood for the hot air balloon image, Seam Binding with Weathered Wood and Peeled Paint Distress Stains, assorted gears.


The picture wheel can move and each one has a picture or word.
Supplies: Graphic 45 Paper (Magic of Oz), Tim Holtz Ideology Spinner, Tim Holtz Alterations Picture Wheel die, Seam Binding with Fired Brick Distress Stain.


Supplies: Graphic 45 Paper (Magic of Oz), Tim Holtz Ideology Spinners and Clock, Cricut Gypsy Wandering cartridge for the show, grungeboard, Seam Binding with Fired Brick Distress Stain assorted gears, Tim Holtz Distress Pad in Black Soot, Tim Holtz Distress Crackle Paint Metallic Brushed Pewter .

Sorry! Very Blurry - will try to get another pic.
Supplies: Graphic 45 Paper (Magic of Oz), Stampabilities Vintage Map Stamp, Zing! Embossing Powder in Brown Sugar, Tim Holtz Idea-ology Findings Memo Pins,  Tim Holtz Idea-ology Gears, Snug Hug Seam Binding with Weathered Wood Distress Stain, Tim Holtz Alterations
Sizzix Decorative Strip Dies - Mini Filmstrip & Mini Tickets, assorted gears, Stampendous Frantage Encrusted Jewels, Tim Holtz Distress Pad in Black Soot.

One arm and both legs are re-positional.


Supplies: Graphic 45 Paper (Magic of Oz), Tim Holtz Ideology Gears and Mini Brads, Seam Binding with Peeled Paint and Weathered Wood Stain,  Ranger Perfect Pearls, Tim Holtz Steampunk Texture Fade Embossing Folder, Tim Holtz Distress Pads in Antique Linen, Evergreen Bough, Tim Holtz Chitchat Sticker Book for "wishful".


I made a little pocket for the "no place like home" tag.
Supplies: My Mind's Eye cardstock, Tim Holtz Ideology Gears, Sizzix Movers & Shapers Large Base Die By Tim Holtz Pocket Envelope, Tim Holtz Distress Pads in Antique Linen, Brushed Corduroy.


Supplies: Graphic 45 Paper (Magic of Oz), Tim Holtz Ideology Trinket Pin, Advantus Fragment Charms,
Tim Holtz Idea-ology PHILOSOPHY TAGS Hardware Metal Charm, Snug Hug Seam Binding with Weathered Wood Stain,  Tim Holtz Clocks Texture Fade Embossing Folder, Tim Holtz Distress Pads in Peeled Paint, Spiced Marmalade, Chipped Sapphire.

Thank you for looking

Saturday, February 9, 2013

Harry Potter Altered Spool


I joined an altered spool swap on the Cricut message board.  It was a partner swap and I always get nervous about making something for someone because it can go all wrong.  Before I made it, I talked to my sister about it.  She said: Hey, she likes Harry Potter and you do, too.  Make something with Harry Potter.  Well, that was all she had to say because the idea just took off!  I even made in Pinterest Board for inspiration called Harry Potter Crafts/DIY.

I really liked the idea of doing a grown up Harry Potter Potions Class.  I didn’t want anything too cutesy because my partner is not into that.  Enter Tim Holtz.  I am going to single-handedly make that man rich.  I used almost Tim Holtz everything. 


The Bottle
My spool is actually a baby bottle that I altered to look like a spool.  I used Latte alcohol ink to age the bottle and then wrapped it with some red leather like paper that I bought a long time ago.  On top of the red paper, I pasted an “aged” image from a book by Nicholas Flamel, who is spoken about in the first Harry Potter book. To age the image, I used Antique Linen and Brushed Corduroy Distress Pads

I wrapped seam binding around the bottle.  The seam binding was inked with Fired Brick and Wild Honey Distress Markers and combined with water.  They looked like Gryffindor colors to me J

The Top


I cut out 3 circles using my spellbinder dies.  They are pretty thin but tough little dies.  The die cut right through a cereal box carton with no problem.  The two other circles were from cardstock from the DCWV Safari Chic stack.  I pasted them together and ran through the embossing machine using a woodgrain folder by guess who? Yeah, Tim Holtz.  I wrapped Paris washi paper by Cavallini & Co. around the sides of the top.  Nicholas Flamel was a Parisian for many years.


I made the book using text from a alchemist book I found on the net.  The cover is made with the same red paper that is on the bottle.  I stamped the front and back with a Stampers Anonymous angel stamp from a set called Classics #9.  I used the Tiny Attacher to hold the pages together.

Back view
The vial and cork are from Ideo-ology.  I made it look like the mixture spilled on the book.  The “mixture” is made with Glossy Accents and Forever Red Perfect Pearls.  A wire pin holds glass beads and the other bottle also made with a Glossy Accents and Perfect Pearls mixture.

The bookmark is seam binding inked with Latte alcohol ink and Squeezed Lemonade.  Because they are different types of liquids, there was sort of marbling effect.  It was totally unintended by super cool so I kept it.

The Recipe
One of the more famous potions used in the Harry Potter series is the Polyjuice Potion.  I got it from Harry Potter Wiki.  That site has almost everything you could possibly want to know about Harry Potter.  I aged the recipe with Peeled Paint and Black Soot Distress Pads and my awesome precision files by Basic Grey (I know! Not Tim Holtz!!). I rolled it up and hid it in the bottle.


The Cauldron
I made the cauldron totally by hand using air-dry clay by Crayola.  I painted it black and added jewelry wire for the handle.  I also added little black beads for some detail.  The “mixture” is made with glitter and Glossy Accents.


So that’s it.  My partner is lucky because I almost kept it!  lol

Tuesday, July 31, 2012

Huckleberry Finn Tag

Today I made a tag with a new stamp I just got from Artistic Post. When I saw the set, I fell in love with it and, well, just had to have it. I used the stamp to make a cover of a book. I distressed it so it looked like an old, worn copy of Huckleberry Finn. I even tore off a piece and glued it back together to give it a look of book that so well loved someone took the time to fix it. I used to have a couple like that before I got a Kindle.  It has a simple sentiment story, which a double meaning.  Story for Huckleberry Finn and story for the little four page "book" I made.  A little story can actually be written in it. I entered it in the Simon Says Stamp & Show Challenge: What Do You Say?

I Also Used:
- Tim Holtz Distress Inks: Antique Linen, Brushed Corduroy, Black Soot,  Iced Spruce
-Tim Holtz Adage Ticket - Story
-Tim Holtz Sizzix Texture Fades - Steampunk
-Tim Holtz Kraft Resist Paper
- Stickles - Vintage Photo
- Seam Binding from stash and lightly inked with Black Soot


Sunday, May 6, 2012

A Peter Rabbit Mother's Day


I made another Mother's Day card for my mom.  Ever since I saw this stamp, I have been wanting to use it for this very purpose.  I reminds me of my son and my mom :)  She will love it I think especially since it will be from her grandson.  Would you believe the stamp is from Peter Rabbit: Winter Wishes, a Christmas set?  It is such a great image you can use is for anything.  The "Mother" sentiment is from Papertrey Ink.

I loved the colors in the Shabby Tea Room Blog.  It is one of my favorite color combinations because it is so pretty and feminine.  If I ever have a girl, her room would be these colors.  The challenge also called for flowers which is in the pattern paper and polk dots.  I made a flower using ribbon which I learned in a class by Melissa Frances. The green floral pattern paper and pink pattern paper is Pink Paisley and the green polka dot paper is from Graphic 45.  The blue cardstock is from Bazille.

I cut the circle and scalloped circle using the Sugar and Spice Cricut cartridge by Provocraft. 
I used Tim Holtz Distress Markers and Detail Brush to to color Peter Rabbit and his mom.  I used: Stormy Sky, Weathered Wood, Tea Dye, Vintage Photo, and Milled Lavender.  I inked the edges with Victorian Velvet and Antique Linen.

I can't wait to give it to my mom!

I also entered:
2 Sisters Challenge Blog  - #90 Anything Goes
Sweet Stampin Challenge Blog - 4 Legged Friends - my little rabbits
Simon Say Stamp and Show - Kaleidoscope of Color - I have pinks, greens, blues, browns, lavender, gray and white.  It's amazing how well they all work together :)
Crafts and Me Challenges - favorite color combos - pink and green
Paper Sundaes - Mother's Day, Challenge 119
Dream Valley - Challenge 31, For a Special Lady
Little Miss Muffet Challenges - May Flowers, Challenge 34
Creative Crafts Challenges2 - Anythings Goes

Sunday, April 1, 2012

Creative Chemistry 101, Day 8


I tried out two more techniques.  This one is with the Acrylic Dabbers it is called the Paint Dabber Resist Technique.


I used Acrylic Paint Dabber in Gold.  I frayed the edges
of the Stickly-Back Canvas.


Spun Sugar and Broken China Distress Stains


I also tried the Shattered Stains Technique with Rock Candy Distress Crackle Paint.  Cool! I used Mixed Minds grungeboard by Tim Holtz Idea-ology.


I used Spun Sugar Distress Stain and Festive Berries Distress Ink.
I had to press the ink pad really hard!


I stamped the sentiment from Shabby French using Iced Spruce Distress Ink.
I also stamped the sentiment in Jet Black Archival Ink.


Saturday, March 31, 2012

Creative Chemistry 101, Day 10


Today I worked with distress stickles.  I have had a set of distress stickles for a long time but I didn't know how to use them.  Well, Tim Holtz did a great video on how to use them and now I know how! :)

I Used:
- Shabby French stamp set, Stampers Anonymous
- Worn Lipstick Distress Stickles, Ranger
- Broken China Distress Stain, Ranger
- Victorian Velvet Distress Ink Pad, Ranger
- Iced Spruce Distress Ink Pad, Ranger
- Evergreen Bough Distress Ink Pad, Ranger
- Antique Linen Distress Ink Pad, Ranger
- Shell, Slice Machine, Making Memories
- Under the Sea, Slice Design Card


This stuff really sparkles!

Another view


A woman's heart is a deep ocean of secrets. ~ Gloria Stuart