Pages

Monday, August 25, 2014

Stamp - A - Faire 2014

On Saturday, Papertrey Ink had some challenges for their Stamp A-Faire day and I joined in some of the challenges.  The theme was stamping through time and it was a lot of fun.


This one was Vintage Patterns for a 1940s look.  I tried to do a bigger pattern across the page but that was a disaster!  (Well, maybe five disasters...)  I finally decided to do smaller patterns and tried to make it like an embroidery hoop.


Materials: Classic Kraft paper, Explore the 1940s with Besty Veldman stamp set and background paper (PTI), lace


This one was called Sparkle and Shine for a 1920s look.  I really liked doing this one.  I used sticky embossing powder for the glitter and it worked like a charm.  The end result was super elegant.


Materials: Fine Linen and Smokey Shadow, Deco Die Cover Plate, Explore the 1920s with Heather Nichols stamp set and paper (PTI), Styled Labels die (Sizzix) embossing powder, Sterling glitter (Martha Stewart) and rhinestones


Antique Embossing is from the Regency Era challenge.  I used silver embossing powder, stamped it, and then used Distress Ink Black Soot for that antique look.  Loved it!  It gives the embossing a look like it had aged.

 Materials: Smokey Shadow paper, Explore the Regency Era with Melissa Phillips stamp set and paper (PTI),  embossing powder, Black Soot Distress Ink (Ranger), sequins (Mon Ami Gabby)


This one is Renaissance inspired.  The challenge was for Velvet Stamping but I had no velvet fabric or even flocked paper that might work.  I really wanted to used the stamp and dies, though.  They are so elegant.  Put together they remind me of the beautiful stained glass rose windows one sees in old churches and cathedrals.  I did not stamp on velvet - just regular paper.  I added little liquid pearls and ribbon.


Materials: Hawaiian Shores and Ripe Avocado paper, Explore the Renaissance with Nichole Heady (PTI), gold embossing powder, gold metallic wax, Viva Decor Pearl Pen, ribbon

Tuesday, July 29, 2014

Diamond Wallpaper Stamping

Papertrey Ink has a tutorial about making your own background using stamps for Make It Monday #174.  It looked cool so I decided to try it out.  My first couple of tries were duds!  I was rushing things so the diamonds were super crooked.  I was more careful with this one and I am pretty happy with how it turned out. I popped up the Chrysler Building, which is my favorite building in NYC.  I love that Art Deco look.

All the stamps used are from City Scene by Papertrey Ink,  which I was happy to finally use!  Oh, except the sentiment.   That's from their Road Trip stamp set.

My husband and I live near the NYC so I am going to use this card to ask him out on a date.  Of course, he will say yes ;-)

Sunday, June 8, 2014

No.1 Dad Box Card

I jumped on the box card band wagon and made one for father's day.  This card will be from the boys to their dad.  Tom loves baseball and the Yankees, in particular, so I tried to make the little guy look like a Yankee with his uniform.  I had to use a blue marker to make the pin stripes.  I also added some stitching for the the hat. Copics were used for the skin and the hair. I also made lines on the baseball bat to make it look more like wood using Copics.

To make the box more complete,  I added a baseball and a label from the Total Sports cartridge.  I stapled them with  my Tiny Attacher to clear plastic to make them look like they are in the air.  The sentiment is from a CTMH stamp set called Kudos.  I added a ton of grass and there is little picket fence, too. 

The phrase is from the Phrases cartridge.  The #1 is colored in with Wink of Stella - so sparkly! But I restrained myself because it is a guy card!


I entered this card in:


Princess Tag

I made a princess tag using Julie Nuttimg's princess stamp.  

I would like to enter is tag in:

My Sheri Crafts 3 in a Row - Tag, Pattern Paper, Paper Piecing

 I learned a technique for layering stamp pieces from a talented lady named Collen from Col's Crafty Corner.  It was a lot of work and a lpt of pop dots but worthwhile.  I used  Copics for the skin and hair and  Lindy's Stamp Gang for the shadows in the dress (Tainted Love Teal).The sentiment is from a Fairyopolis stamp set and the tag is from Spellbinders.

The pattern paper is from SEI.  Hard to see but is a very light green with light gold. So pretty!  The shimmery white paper is from Papertrey Ink.  The blue paper is from DCWV.

Here was my tag:


Saturday, May 3, 2014

Itsy Bitsy Stencils


I love butterflies.  I think of spring and flowers and beauty when I see them.  So I decided to make a stencil with butterflies to make a card using them.


I placed it on top of cardstock and then I pounced some color. I wanted it to be colorful so I used yellow, blue, green, and a touch of pink to pick up the color of the die cut butterfly.  I like that adding the colors lightly gave the background a soft, watercolor look to it.


The paper is 6 x 6

I only did some of the butterflies not all. 


Next, I cut a butterfly from the Hannah Montana Cricut cart. The butterfly images in this cart are so pretty.

The sentiment also a stencil.  I used the Everyday Fonts cart for it.  I pounced the color and then outlined the letters with a fine line marker to make it stand out a bit more than the butterflies in the background.

I left it simple for the CAS look which I seem to be gravitating towards now :)

I cut the butterflies at .50 in each and the font at .75 which is why called the stencils itsy, bitsy -- plus it sounded cute :)

I used gesso on this card for some texture and a different look.  I used the herringbone image from the Edge to Edge cart.  I cut it at 8 inches and just slapped on some gesso - which shows in some places... I think that if I use a temporary adhesive next time it will give me a sharper image.  I'll try it out next time.


The suave gentleman is from the Suburbia cart.  I was inspired by Nadia from With Glittering Eyes blog here and here to change the image a silhouette to a more dimensional image.  He is no Ryan Gosling but I think he came out alright! :D

I added a "hey, girl" sentiment to it.  If you're not familiar with "Hey, girl" and Ryan Gosling, check out this pinterest board.  I don't know what I am going to put inside it, yet.  Maybe: "hey, girl... the glitter in your hair, ears and teeth really set off your eyes" or "hey girl... let's organize your paper collection by color and texture."  I get a kick out of these!

Friday, April 4, 2014

Froggy Baby Card


I made this CAS card for a co-worker who is going to have a baby.  I am so happy for her and her hubby.


I kept the card very simple - die cut, embossing, one stamp, and some baker's twine.  Oh, and I tried out Wink of Stella on the froggy's spots.  That stuff is great - very sparkly!  The little frog is from the Tiny Treasures Cricut cartridge and I cut him at 2 in.  The stamp is from Papertrey Ink and the embossing folder is from Stampin Up.  It love the random spots all over - it's fun pattern.  I am thinking it could be used as background for snow if you make a winter card, too.

I would like to enter this card in:
Alphabet Challenge Blog for D is for Diecuts


"When green is all there is to be 
It could make you wonder why
But why wonder, why wonder?
I am green and it'll do fine
It's beautiful and I think it's what I want to be"

-- Kermit the Frog

Sunday, March 2, 2014

Watercolor Backgrounds

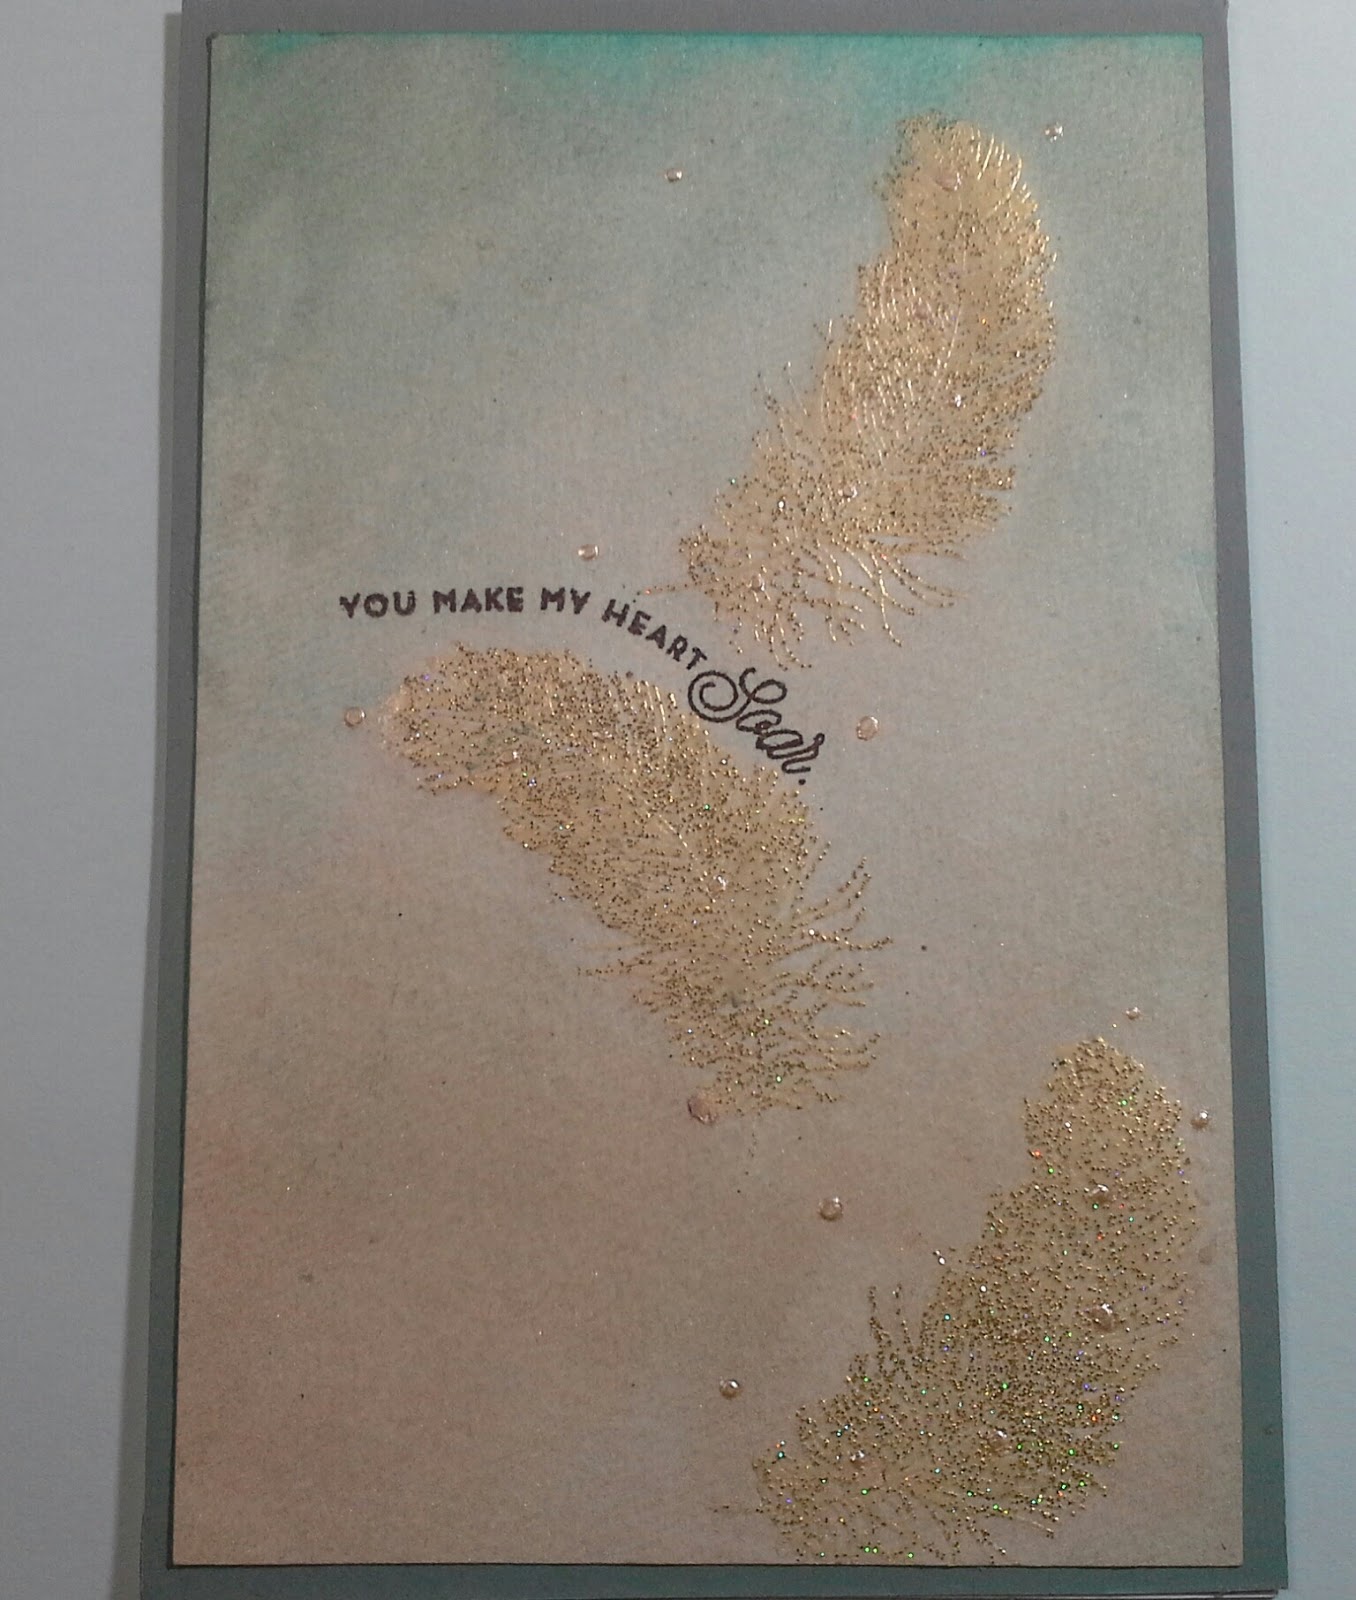
I sthis post on the Papertrey Ink bl watercolor backgrounds and decided to give it a try.  It is such a pretty and soft look for backgrounds.  Dawn McVey shows two different ways to do this with heat embossed images.  I tried out the first by heat embossing and then brushing on the color.

At first, it  looked like a big ole mess.  I got a little too happy splashing colors and had pools of color all over!  Trust me - it was  not pretty.  Thankfully, this technique is really forgiving  I had to blot out quite a bit and then I went over it again with a flat brush.

Next time, I will try out the second way - to do the background and then heat emboss.  I had gotten some saturated color where the images had spaces and it was tough to soften.  Doing the background first will make it more uniform.

I decide to enter this in Craft Creations Challenges - Challenge 257, Keep It Simple, Simon Says Challenge - Anything Goes with Pearls,  and  Virginia's View Challenge #1: Watercoloring.
.


Materials:

Papertrey Ink
  • Feather Finery Stamp Set
  • Smokey Shadow Dye Ink
  • Ocean Tides cardstock
Ranger
  • Peacock Feathers Distress Stain
  • Bisque Liquid Pearls
Lindy's Stamp Gang
  • Moonshadows in Gold Doubloons and Buccaneer Bay Blue 

Saturday, February 8, 2014

Valentine Blog Hop 2014 - Butterfly Pops

Hello from snowy Jersey!  Welcome to our 2014 Valentine's Day Blog Hop! You should have reached from cricutaddicted's blog, ScrappingForMoreFun.  If you are just joining up, please start at RockinRenee's blog.

I was looking for ideas on Pinterest and inspired by Skip to My Lou to make Butterfly Valentine Pops  The moment I saw the pic I thought: Hey, I can make those with my Cricut!  And so I did :)

I made two different kinds.  The first batch, I made with my boys in mind.  I figure my oldest can take some to school for Valentine's Day since they did not take any time at all. Here are some of them:


Aren't they cute?!  I used the Pink Journey cartridge.  I cut the butterfly and shadow at 4.5.  I glued the two pieces together and I had some fun looking butterfly treats for Valentine's Day.  I cut the heart at 1.25.  I stamped the hearts with different sentiments. They kind of remind me the candy hearts I used to pop in my mouth as a little girl.

I wrapped the lollipops with crepe paper and wrapped some baker's twine around them.  Honestly, I didn't use any fancy crepe paper.  I used crepe paper left over from party streamers - waste not, want not!

Make sure to trim the bottom of the crepe paper.  If you don't, the lollipops look like colorful ghosts.

I made 4 incisions that were about .75 inches.


You don't have to be super precise
with the incisions.
Put the stick through like so.


I attached the little hearts to them and that's it!  They are ready for some yummy Valentine's gift giving.


The great thing about these Valentine Butterfly pops is that you can gussy them up.  I made this one for my hubby:


The butterfly cut is from the Hannah Montana.  I cut it at 4 inches.


I spritzed the shadow with some gold mist and it left spots.
It didn't matter, though, because most of it is covered by
the pattern paper.


I trimmed off the head and tail of the butterfly on the pattern paper.


I used a smaller lollipop, which I ended up liking better.  (Smaller = A lot less sugar.  Oh well, Valentine was meant to be sweet!) I wanted to cover it in brown tissue but I didn't have any.  So I did what any crafty girl would do - made my own.  I sprayed so much color on this tissue it had no choice but to change.  To speed up the drying process, I used a heat tool.


Before
After :)

I wrapped some brown twine around it for an elegant but rustic look.  The heart is from Pink Journey is cut a 1.25.  I spritzed it to give it some shine.


I hope you enjoyed your stop here.  In honor of Valentine's Day, I am offering a giveaway.  Please leave a comment to enter for chance to win a "Cross My Heart" embossing folder and border.  Make sure you leave a way I can contact you via email.  I will announce a winner on Monday :)

Last, but certainly not least is the lovely Scrapalette.  Check out her Valentine's Day project at Around the Block with Scrapalette.  She always has such great ideas!

Here is the entire blog list:

1. RockinRenee - I came, I saw, I created.
2. HappyScrapper64 - Random Thoughts of a Scrapbooker
3. gonescrappin - Col's Creative Corner 
4. Hrvatica  - Croatian Crafter
5. Scootingranny - Scootingranny's World
6. MamaC - Carolyn's Creative Corner
7. Greenie8705 - Gina Beana's Crafts
8. MariaJ - Stamp, Cut, Create!
9. Di&Co - Creating Is Like Breathing
10. Dragonfly50 - Designs by Dragonfly
11. TiffysMom - Angie's Paper Passion
12. *Violette* - Whimsical Treasures
13. cricutaddicted - ScrappingForMoreFun
14. LoriSjogren - The Singing Shell  <------ You Are Here
15. Scrapalette - Around the Block with Scrapalette <------ Go Here Next


Materials & Supplies for fun butterflies

Cricut cartridges: Pink Journey
Cardstock: Martha Stewart
Stamps: Papertrey Ink Mini Mega Messages
Crepe paper: party streamers
Baker's twine from my stash
Lollipops: Blow Pops

Materials & Supplies for elegant butterflies

Cricut cartridges: Hannah Montana, Pink Journey
Paper for elegant butterflies: DCWV, Co'redinations
Stamps: Papertrey Ink Mini Mega Messages
Color Spray: Gold Doubloons from Lindy's Stamp Gang, Espresso Color Wash from Ranger
Twine: Tori Spelling
Lollipop: Dum Dums


Saturday, January 25, 2014

Papertrey January Blog Hop

I couldn't resist the Papertrey Ink Blog Hop this month. It is called Pretty in Pink and, with Valentine's around the corner, it is a perfect theme.

I pulled out my Simply Jane stamp set & dies and some Soft Stone, Sweet Blush, and Hibiscus Burst paper .  This what I came up with:


I drew in some grass at the bottom of the frame and used Meadow Greens for the "tree" in the background because I pictured Mr. Darcy and Elizabeth out for a walk like in that last scene of the movie version of Pride and Prejudice. "You have bewitched me, body and soul..." Swoon!

I embossed the frame with the Woodgrain Impression Plate. Some Perfect Pearls in Pewter was dusted lightly on the frame give a little contrast.  I added some ribbon, a flower, and a doily. I added Clear Rock Candy Dry Stickles to the figures so they would stand out but still show the Hibiscus Burst color of the paper.


Die-cut leaf is from Meadow Greens

All products are from Papertrey Ink except: Perfect Pearls, Stickles, ribbon, flower and doily.

I made a second card (not part of the Blog Hop but thought I'd share) because I just could not stop using the stamp set: