Pages

Showing posts with label Art Philosophy. Show all posts

Friday, December 14, 2012

Wrap It Up!


My sister and I recently discovered Stampin Up! and loved this stamp set we saw in their catalog called It's a Wrap.  The stamps were initially made to wrap around Hershey Nuggets but were also used like tags. Well, we are on a buying ban right now called Use Your Stash on the Circle message board hosted by MamaC.  So I decided, "Hey, I can make some using my Cricut for my sister."  The best thing about it is that I could use any paper, any label, and any sentiment.

I used the Every Day Paper Dolls cartridge to make the wrapper.  The band-aid on page 53 was the perfect shape.  I used my gypsy to make it 3 x 1 in and to erase the little holes and lines.  You can use any rectangle from any cartridge or even just cut using a paper trimmer.

I used Art Philosophy for the label.  I cut the image at 1 in. and then used a distress marker to highlight edge.

I pasted the label on top of the wrapper and stamped the labels "enjoy", "joy", or "thanks".

The left and right tags were made using the Cricut.
The middle tag was made with a paper trimmer and
We R Memory Keepers Corner Chomper.

This one was used as a tag.


Here are the Nuggets all wrapped up:


I packed it up in a plastic bag:


I made a bunch to give to my sister and wrapped it with ribbon:


Then I made a little box from Art Philosophy, distressed and embellished.  Voila! It made for a nice, winter themed gift:

The sparkle is from Macadamia Tattered Angles
Glimmer Glam.  Wow! That stuff packs a glittery punch!
I didn't even have to tilt my camera to get
the sparkle.

Sunday, April 15, 2012

Welcome Little One


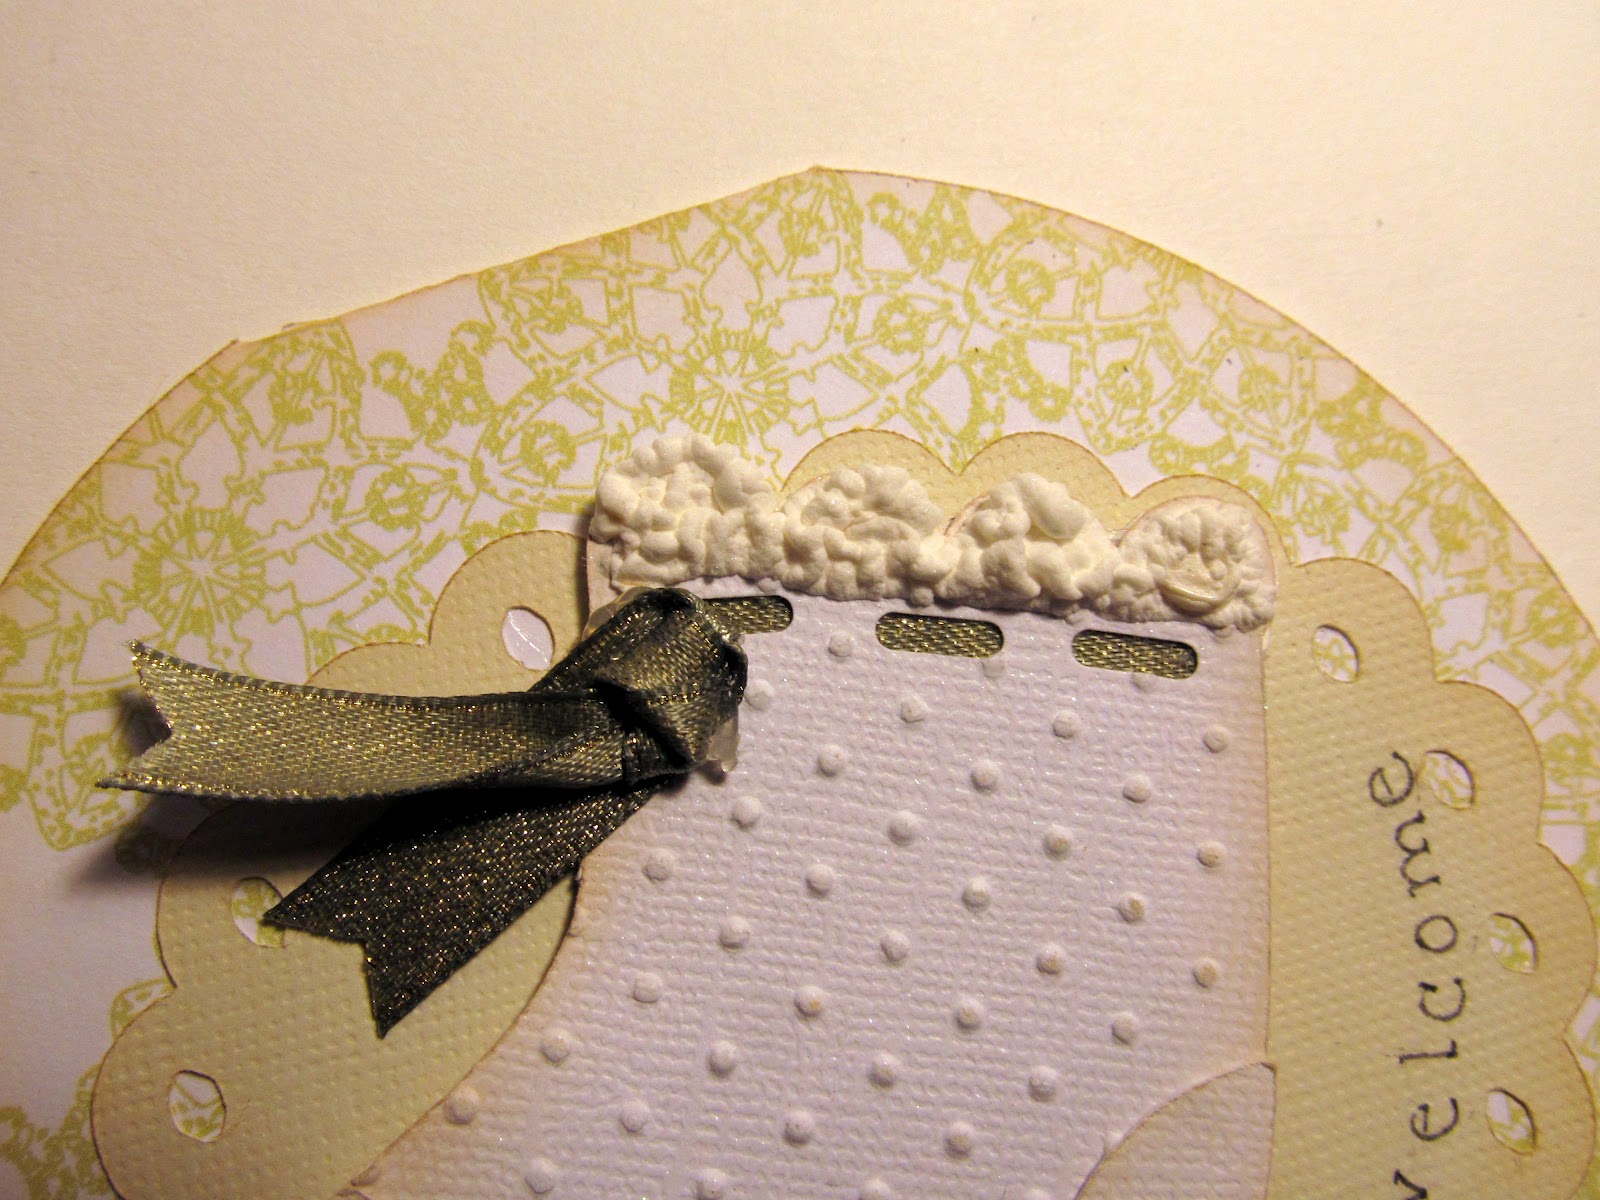
I made this card for a baby shower.  I wanted a vintage kind of look so I made a little baby bootie that reminded me of the little crochet ones my mother had made for my son before he was born.  It took a long time to make this but I really enjoyed making it. 

I Used:
- Sugar and Spice Cricut Lite, Provocraft - little baby bootie
- Art Philosophy CTMH Cricut Cartridge, Provocraft - Scalloped circle
- Liquid Applique, Marvey-  for the top of the booties 
- Swiss Dots embossing folder, Cuttlebug
- Vanilla Cream Ink Pad, Close to My Heart (CTMH) - to ink the edges
- Bissette, SEI cardstock
- Ribbon from my stash


The Liquid Applique give it a nice 3-D effect.


Sunday, March 11, 2012

Movie Ticket Invitation


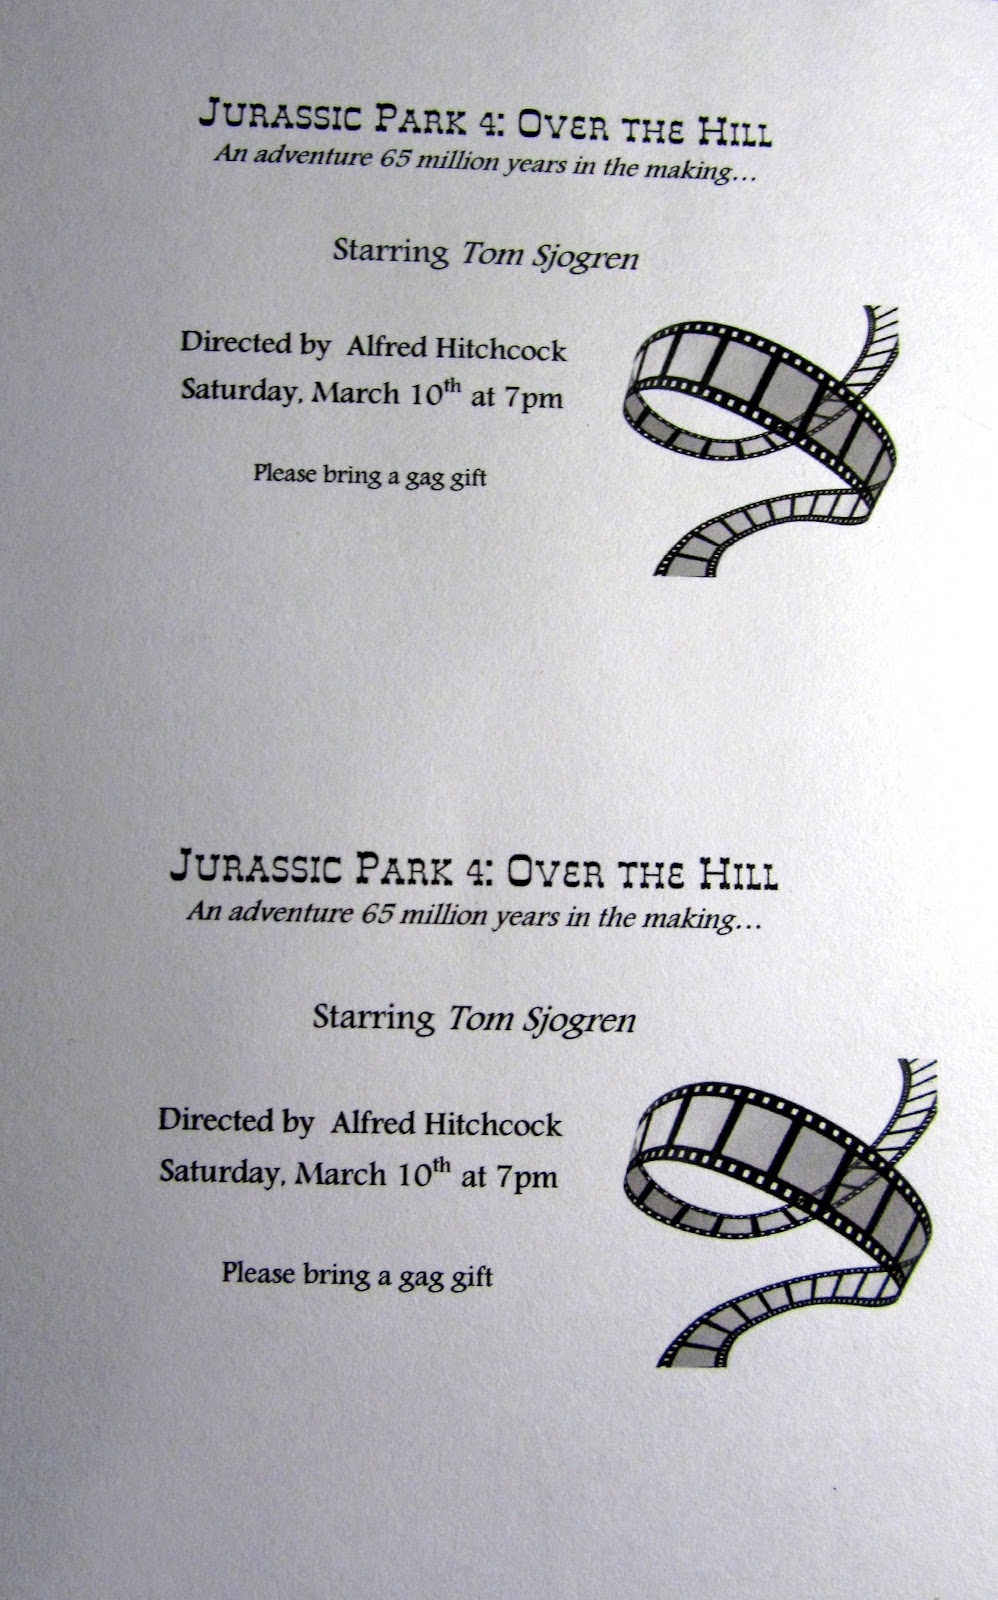
It was my husband 50th birthday and I had fun with it.  My family and friends had such a blast with the gag gifts and Tom was such a good sport about it all.  The funniest was the blow-up walker and he posed with it like a trooper.  He has great sense of humor and that's one reason I love him.  I made this fun invitation since it was a movie night theme. 

I Used:
- Provocraft Art Philosphy Cricut Cartridge, p64 - decorative layer feature+ rectangle3 for the white cardstock for the word ticket; decorative layer feature + shift + rectangle 3 for the red ticket; and rectangle3 for the backing also white

-Provocarft Carousel Cricut Lite Cartridge  - font feature + shift + train4 for the three stars

- Southwest Resume Paper for typing the invitation - it has such a nice texture!

- Movie Reel clipart - There are a number of free ones out there - Just Google! :)

- Movie Tagline - This is an acutal tagline from the original Jurassic Park movie and thought it would be fun to add to the invite.

- Martha Stewart - Stars Edge Punch

- cardstock from Die Cuts with a View (DCWV)


I cut all the pieces at 3.5 inches.  I printed one sheet of the wording for the invitation.  This was the hardest part since I had to print the paper out a couple of times to make sure the wording would fit in the ticket.  I placed the red ticket diecut over the wording several times.   This helped me check the font size to adjust.  Since I knew these were prototypes, I used regular copy paper until I was happy with it and then printed using the resume paper.


After that it was easy!  Just paste it all together and you got yourself a fun handmade invitation!


Now for the envelope.  Not much to tell except that I hand cut it.  I made slightly smaller than the invitation so you can slip the ticket in and out easily.   I also cut the edge with Martha Stewarts Stars Edge Punch. 


If you look carefully you can see that I added some of the stars from the punch on the envelope:

I hand wrote the guest's name next to stars and they were ready for hand delivery! 


Do something fun because as Dr. Seuss said: Fun is good. 

Sunday, January 8, 2012

Party Time!


Today was my mom's birthday party.  She was so happy and had a good time :)  This is the first time I made toppers so I am really pleased with the results.  Usually I make things too small but I think the toppers were just the right dimensions.  I find myself using my ruler a lot for reference now.  It helps me a lot.

I Used:
- Sophisticated Cart - key tags
- Kate's ABCs - "M", I welded it onto the oval circle with my Gypsy
- Art Philosophy - oval scalloped circles
- Country Life - Scalloped banners
- Papertrey Ink - Menhdi Medallion
- Ranger - Perfect Pearls
- Versamark stamp pad
- Paper from my stash


Here's How:

* I stamped my hot pink paper using the Menhdi Medallion with the Versamark and then brushed on the Perfect Pearls.


* Next, I cut out my pieces and put them together. The front and the back of the toppers:


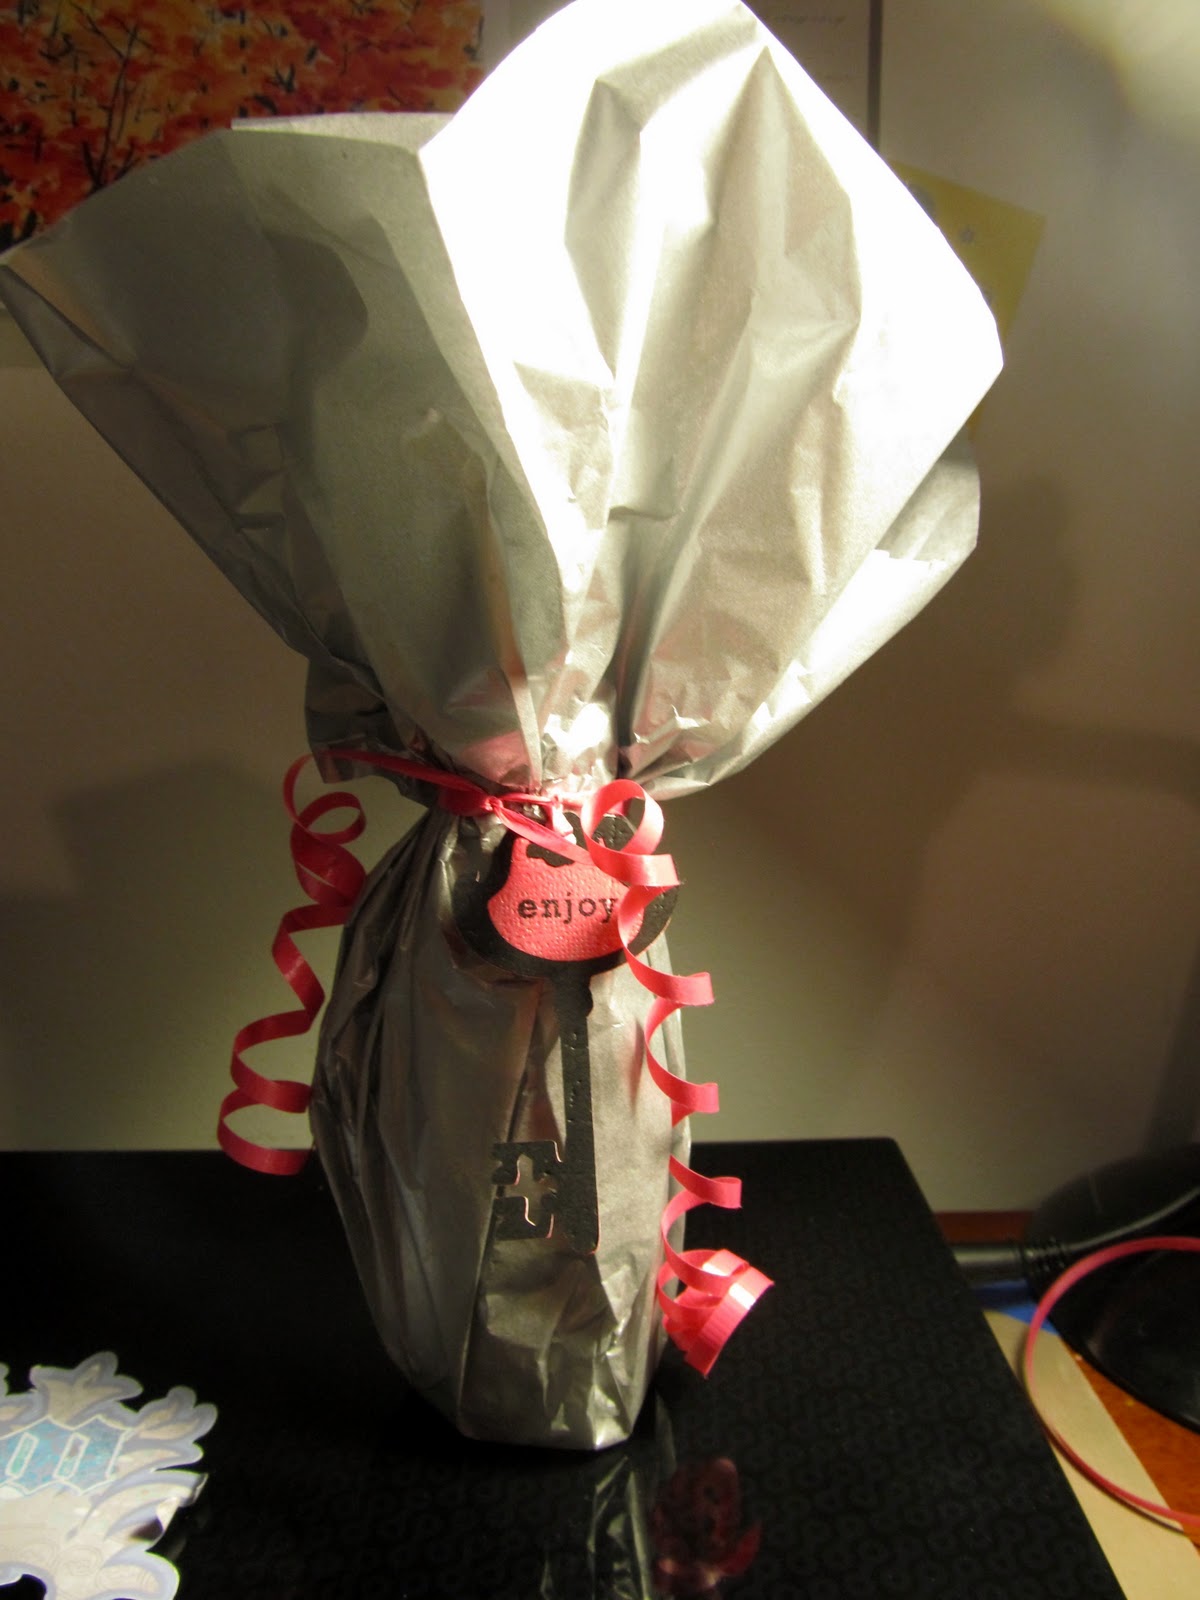
* I stamped "Enjoy" from Mega Mixed Messages from Papertrey Ink onto the key tags.


*  I added the sentiment "Absolutely Fabulous" from also Mega Mixed Messages onto the banners.

* Add some curling ribbon, sparklers and it's party time!

Another candle on your cake? Well, that's no cause to pout. Be glad that you have strength enough to blow the damn thing out. ~Author Unknown

Sunday, December 11, 2011

Gingerbread Man Holiday Box


I got my mom a beautiful, sparkling (she likes sparkles) locket for Christmas. Inside the locket will be the picture of her grandson, Anders. I am going to package the locket in this box I made for her. :)

I Used:
- Art Philosophy Circut Cartidge: Chinese Take Out Container - font layer+shift page 24
- Jolly Holidays Cricut Cartridge: Gingerbread Man - gngrbrd and gngrbrd+shift - I used the Gypsy to hide the cuts for the face so I could use the Peachy Keen stamp
- Joy of the Seasons Cartridge: Candycane -candy, page 47 - I used the Gypsy to hide the peppermint candy
- Red Buttons from my stash
- Viva Decor Glitter Liner: Holo Iridescent
- Basic Grey Paper: Nordic Holiday
- Peachy Keen Stamps for the face
- Raffia from my stash

Here's How:I filled the 12 x 12 page with the box image and just followed the perforated cuts. That was pretty to follow. I cut the gingerbread man at 2.5" and the candy cane at 2". I stamped the gingerbread man with the Peachy Keen stamp in white. I used Colorbox Frost white. I added glitter to his buttons and frosting. I did not use the buttons on the cut in Jolly Holidays. I punched white cardstock with the Crop-a-Dile instead. I arranged my gingerbread man and the candy cane. I thought the candy cane needed more so I added a ribbon and a button with raffia. I liked the red buttons with raffia idea so much I added them on the bottom to balance out the design which looked a little top heavy. I also added the red buttons on the top.


Have a wonderful day :)
Posted by Picasa

Sunday, November 20, 2011

Journey to Bethleham

 
Posted by Picasa

I Used:
- New Testament (Mary, Joseph, palm trees)
- Art Philosophy (star - someone said it looked like the sun. Whoops! Maybe the color was too bright.)
- Stickles for the star
- Que Sera, Sera paper for background by K and Co.
- We r Memory Keepers Corner Chompers 1/2
- .20 Micron Pen

Here's How
I wanted to make a meaningful Christmas card for my mother. I waited impatiently for this cartridge to come out so I could use it right away :)

I cut the Mary and Joseph images out at about 3 inches. These images were supposed to be cut at 5.5 but rules are meant to be broken... at least, I really hoped at the time I was contemplating cutting them smaller. I had to be super careful taking the images off my mat after I cut because some of them were really fine like the walking stick Jospeh uses. I broke that by mistake when I took it off too fast.

I assembled the pieces and found that the faces (again, I know!) could not really be seen well. So out came my Micron pen and added details to the faces - eyes and mouths. I also did a little shading with my pencils. The palm trees came out just fine and needed no modifications.

I cut the star at an inch and half. I used the gypsy to manipulate the image a little by making the sides thinner so it was more like an oval than a circle. I used Stickles to make it glitter.

I tore some paper in three shades of brown for the small hills. Last, I added some cream colored twine on the side. It came together pretty quickly :) I think my mom will like it a lot.

Have a great day!

Photobucket

Monday, October 24, 2011

Love is Patient

I made this card for my father-in-law who is have a tough time heath wise. I am putting the rest of the verse inside. I just want to remind him that we are are always there for him even in tough times. It is a verse that I really love and brings me a lot of comfort. I hope that it brings the same comfort to him.

I used:

Art Philosophy - flower and letter "L"
Storybook - the green and blue pattern paper
Cindy Loo - the rest of the verse and the deer.
We R Memory Keepers Corner Chomper 1/2
Posted by Picasa